Creating Custom Pieces: Making the Master
So last week, I discussed the first steps of creating a custom design for a customer, and now I'm going to follow up from there.
After design approval, we proceed to finalize the wax model or, for 3D models, we refine the design and await final approval, whether for wax or resin. Once the wax design is approved, I complete the finishing touches in preparation for casting. Typically, casting is done in the chosen metal for one-of-a-kind pieces, while for those requiring molds, I cast the Master in cost-effective bronze or brass for optimal results, ensuring efficient production and future reference. I keep Master designs in metal, just in case the mold is destroyed, goes missing or needs to be re-made.


In the case of a 3D model design, we will then have the master design printed in 3D resin. The resin we use is a crystal green one, which is very tough and stands up to the sanding and finishing work, especially if we need to remove extra resin from the support system. Once the final finish is done on that resin design, we take it to one of my local casters who will make a liquid rubber mold or TV rubber mold of the resin piece. Once the mold is made, he will make wax injection copies which are used to cast in the metal needed.


Now, a question somebody might be asking me is why I would make a mold even if it's a one-of-a-kind. Per my own experience, I have had customers who have actually lost their jewellery. I've had customers who have damaged the jewellery. I had one customer who had a ring resized, and it turns out his acidic sweat actually eats through the solder, so the ring kept cracking. By habit now, I always make a mold of my custom designed pieces for these reasons. In a worst-case scenario should something go wrong, there's a way for me to recover the piece exactly like the original for the customer. So, for the last 5 years, I have made a habit; anytime we have a custom piece in the shop, we always make a mold.
Whether the design is made in wax or printed in resin, once we have a cast metal piece, that piece will have final finish sanding finishing work done. After that, if there are gemstones, we will set the gemstones. If it's sterling silver and we are going to be doing a patina, we do the patina finish before we actually set the stones.
Throughout this process, the customer is sent pictures of the design in progress so that they are updated on what's happening and can foresee getting their piece. Sometimes there could be days or weeks where there are no updates because there is nothing to be updated. Sometimes we have issues where I'm not in the workshop to do any of the work; sometimes we have issues where the resin printer needs maintenance, etc. We try to eliminate delays as best possible and keep customers informed as to how the order is coming along. Trust me, it's worth the wait!
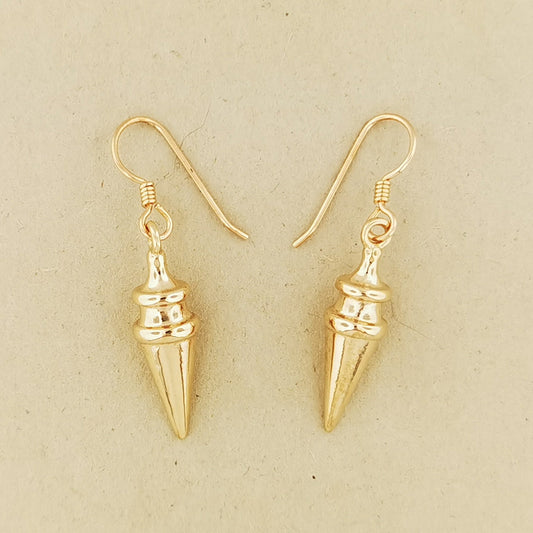
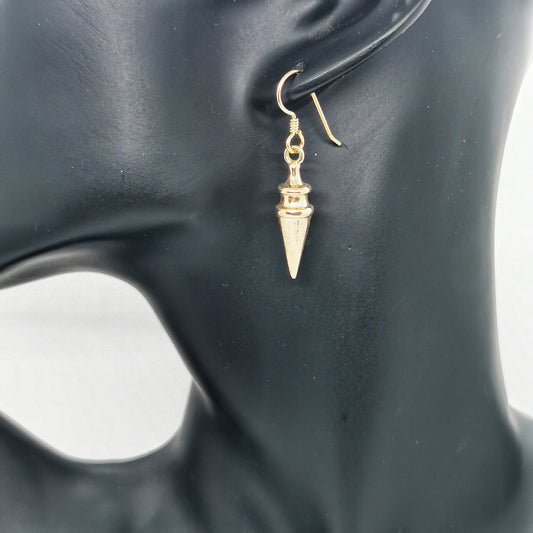
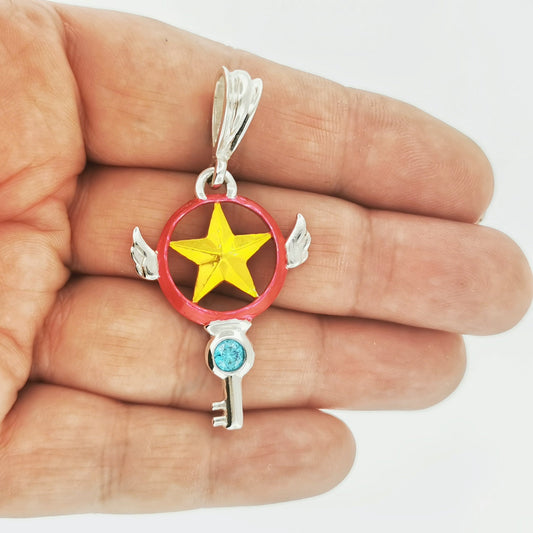
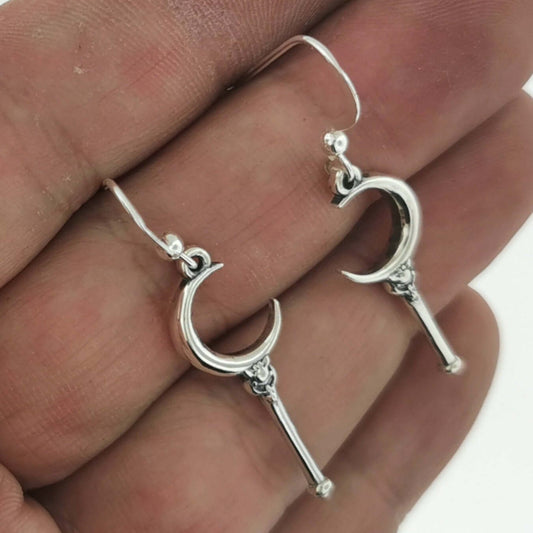
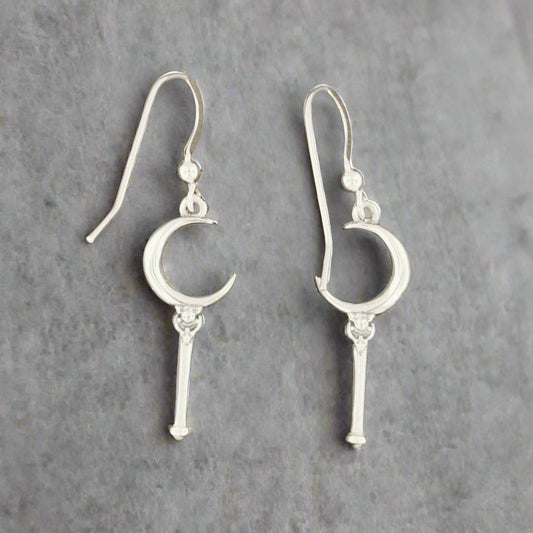
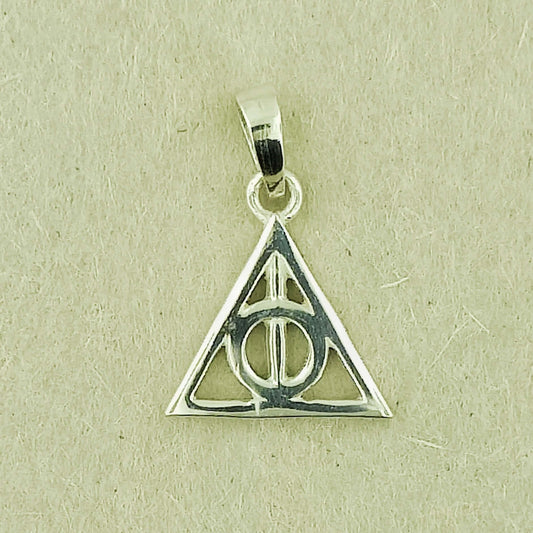
Here are photos of both finished pieces!


I hope you found this information valuable and it will help you to understand the steps in creating a custom design. As always, if you have questions, don't be afraid to ask. I'm always here to help you.
Thanks for reading,