How Does Jewellery Casting Actually Work? Come Behind My Bench
🔥 Come Behind My Bench

People are sometimes very confused when I tell them that a lot of my jewellery starts out as a little piece of wax.
And honestly?
I understand.
Because when you picture jewellery making, you probably imagine someone sitting at a bench, carefully sawing and filing a piece of silver until it becomes a beautiful ring or pendant.
And yes, I do do that.
But lost-wax casting is an entirely different sort of jewellery-making wizardry.

Basically, I make something out of wax, build a tiny wax tree around it, bury the whole thing in plaster, put it in a very hot kiln until the wax disappears, and then pour molten metal into the empty space where the wax used to be.
And somehow, at the end of all of that, I have jewellery.
Magic.
Well... extremely old-fashioned magic involving fire, plaster, metal and a considerable amount of swearing. 😂
So I thought I'd take you behind the bench and walk you through how jewellery casting actually works in my workshop.
🕯️ A VERY Old Jewellery-Making Technique
Lost-wax casting isn't some shiny new modern invention.
The technique dates back thousands of years, with examples of lost-wax casting being used as far back as antiquity. The technology, equipment and materials have obviously evolved dramatically, but the basic concept is remarkably similar.
And I love that.
There's something ridiculously cool about using a jewellery-making process that connects what I'm doing at my workbench today with artisans who were making metal objects thousands of years ago.
The tools are different.
The materials are better.
My kiln is considerably less primitive.
But the basic idea?
- make a wax model
- make a mold around it
- remove the wax
- replace it with metal
That's the magic of lost-wax casting.
✏️ Step One: Making the Original Wax Model
Everything starts with the design.
Depending on the piece, I may begin with a digital design, an existing model, or a piece that I create directly by hand.
For many of my jewellery designs, I work with jeweller's carving wax, which is specifically designed to be shaped, carved, filed and refined.

Wax is fantastic for this because it allows me to create incredibly detailed little sculptures without having to fight with a chunk of metal right from the beginning.

I'll carve away material, add details, refine edges, clean up surfaces and generally fuss over the thing until I'm happy with it.

And yes, sometimes this means staring at something approximately the size of your thumbnail for an absurd amount of time.
“Is that line straight?”
stares
“Nope.”
carves
“Now is it straight?”
stares harder
Welcome to jewellery making. 😂
🌳 Step Two: Building the Wax Tree
Once I have my wax models ready, they need to be attached to something called a sprue.


This is where things start looking a little bit like I have been growing a very strange metallic-looking Christmas tree.
The individual wax jewellery pieces are attached to a central wax channel called a sprue. Multiple pieces can be attached to one central sprue, creating what's commonly called a wax tree.
The sprues aren't just there to make everything look ridiculous.
They're incredibly important.
They create pathways that allow the molten metal to travel into the mold and reach each individual piece.
The positioning matters, too. I have to consider how the metal will flow, where air needs to escape, how the pieces are oriented and how everything will behave during casting.
So yes, there is definitely some engineering happening underneath all the shiny jewellery.
🪣 Step Three: Making the Plaster Mold
Once the wax tree is ready, it gets placed inside a casting flask.
Then I mix up a special investment plaster and pour it around the entire wax tree.
This part always feels a little strange because, at this stage, I've just spent a ridiculous amount of time creating all these little wax jewellery pieces...
...and then I bury them in plaster.
Completely.
Gone.
You can't see them anymore.
Trust me, this is the point where you have to have faith in the process. 😂
The investment surrounds every tiny detail of the wax models.
Once the plaster has hardened, the entire thing becomes a solid mold containing the negative space where the jewellery will eventually be.
🔥 Step Four: Into the Kiln It Goes
Now we get to the lost part of lost-wax casting.
The plaster mold goes into a kiln where it is heated gradually.
The wax melts and burns away, leaving behind an empty cavity in exactly the shape of the original jewellery models.
This is called burnout.
And this is the bit that I think is particularly fascinating.
The jewellery isn't actually being "molded" in the traditional sense.
The original wax model is sacrificed to create the mold.
The wax is gone.
But the shape remains.
Hence:
Lost wax.
It's basically the jewellery-making equivalent of:
"Trust me, I know what I'm doing." 😂
⚙️ Step Five: Molten Metal!
Now comes the part where things get considerably more exciting.
And considerably hotter.
Once the mold has been properly prepared, it's time to introduce the metal.
Depending on the equipment and casting setup, molten metal can be forced into the mold using centrifugal casting or vacuum casting.
And when I say molten metal, I mean very, very hot metal.

The metal travels through the sprue system and fills the cavities left behind by the wax.
This is where all those tiny details I painstakingly carved into the wax need to survive the entire process.
If everything goes according to plan, the metal fills those spaces beautifully.
Then we let it cool.
And eventually...
we have jewellery.
Well.
Technically we have a metal tree full of jewellery at this point.
But we're getting there. 😂
🌳 Step Six: The Silver Tree
When the casting comes out of the mold, it looks quite different from the finished jewellery you see on my website.
Instead of having individual pieces, I have something that looks a bit like a strange silver tree.

The jewellery pieces are still attached to the central sprue system.
That's because the sprues were necessary to get the molten metal into each piece.
Now they have to go.
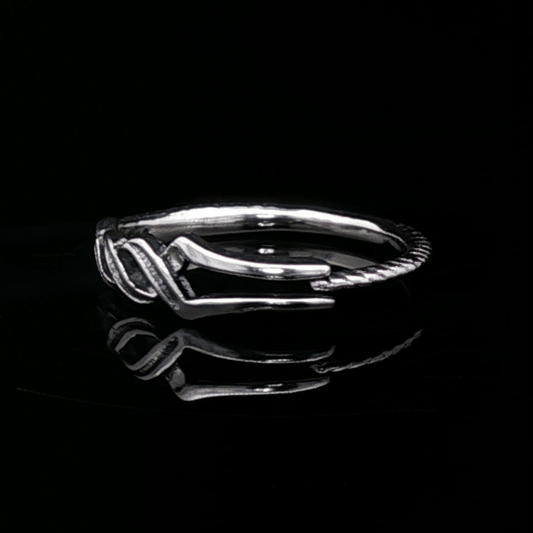
This is where I cut each piece away from the tree and begin the long process of cleaning and finishing the individual jewellery pieces.
✂️ Step Seven: Cutting, Filing & Cleaning
This is where the jewellery starts becoming actual jewellery.
I cut each piece away from the casting tree and then clean up the areas where the sprues were attached.
There can be little bits of metal that need filing, sanding or polishing.

Edges need to be cleaned.
Surfaces need to be refined.

Details need to be checked.
And depending on the piece, there may be additional finishing, polishing, texturing, antiquing or other work involved.
This is one of those things that people don't always realize when they look at a finished piece.
Casting isn't the end of the jewellery-making process.
It's actually just the beginning of a whole other phase.
A piece can come out of the mold looking pretty rough and still require a significant amount of hands-on work before it is ready to become something you can wear.
✨ Step Eight: Making It Pretty
Eventually, the rough casting becomes a finished piece of jewellery.
This is where all the little details come together.
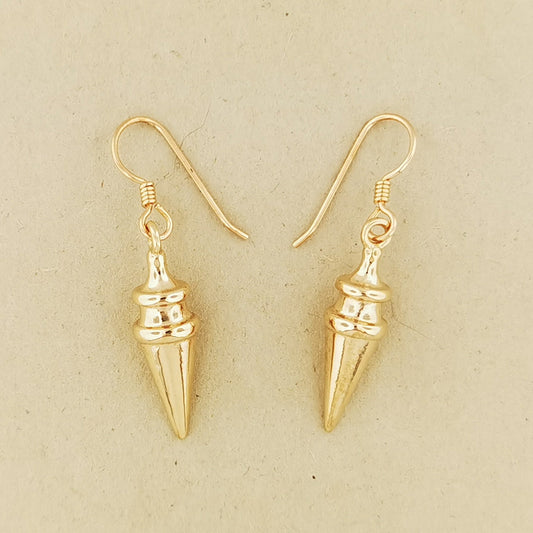
Depending on the design, I may polish it, texture it, oxidize or antique it, add stones or other components, and make sure everything is properly finished and ready to leave the workshop.
And then I get to do one of my favourite things:hold up the finished piece and think, "Holy crap, I made that."
Even after all these years, that part hasn't really gotten old.
🧙♀️ Why Use Lost-Wax Casting for Jewellery?
There are a few very good reasons lost-wax casting is still used for jewellery making today, despite being an ancient technique.
One of the biggest advantages is detail.

Wax allows me to create shapes, textures and tiny details that can then be reproduced in metal.
It's also incredibly useful when creating a jewellery collection.
Once I have a successful master model and casting setup, I can reproduce that design repeatedly rather than carving every individual piece from scratch.

That's particularly important when I'm making jewellery for conventions, my online shop and all the wonderful geeky humans who apparently keep wanting to adopt my creations. 😂
It also gives me the ability to work with different metals depending on the design, including materials such as .925 sterling silver, bronze and stainless steel.
If there's a particular part of the jewellery casting process you'd like me to explain in more detail—wax carving, making casting trees, burnout, metal casting, finishing, or anything else—tell me! I love showing you what goes on behind the scenes because jewellery doesn't just magically appear in a little box.